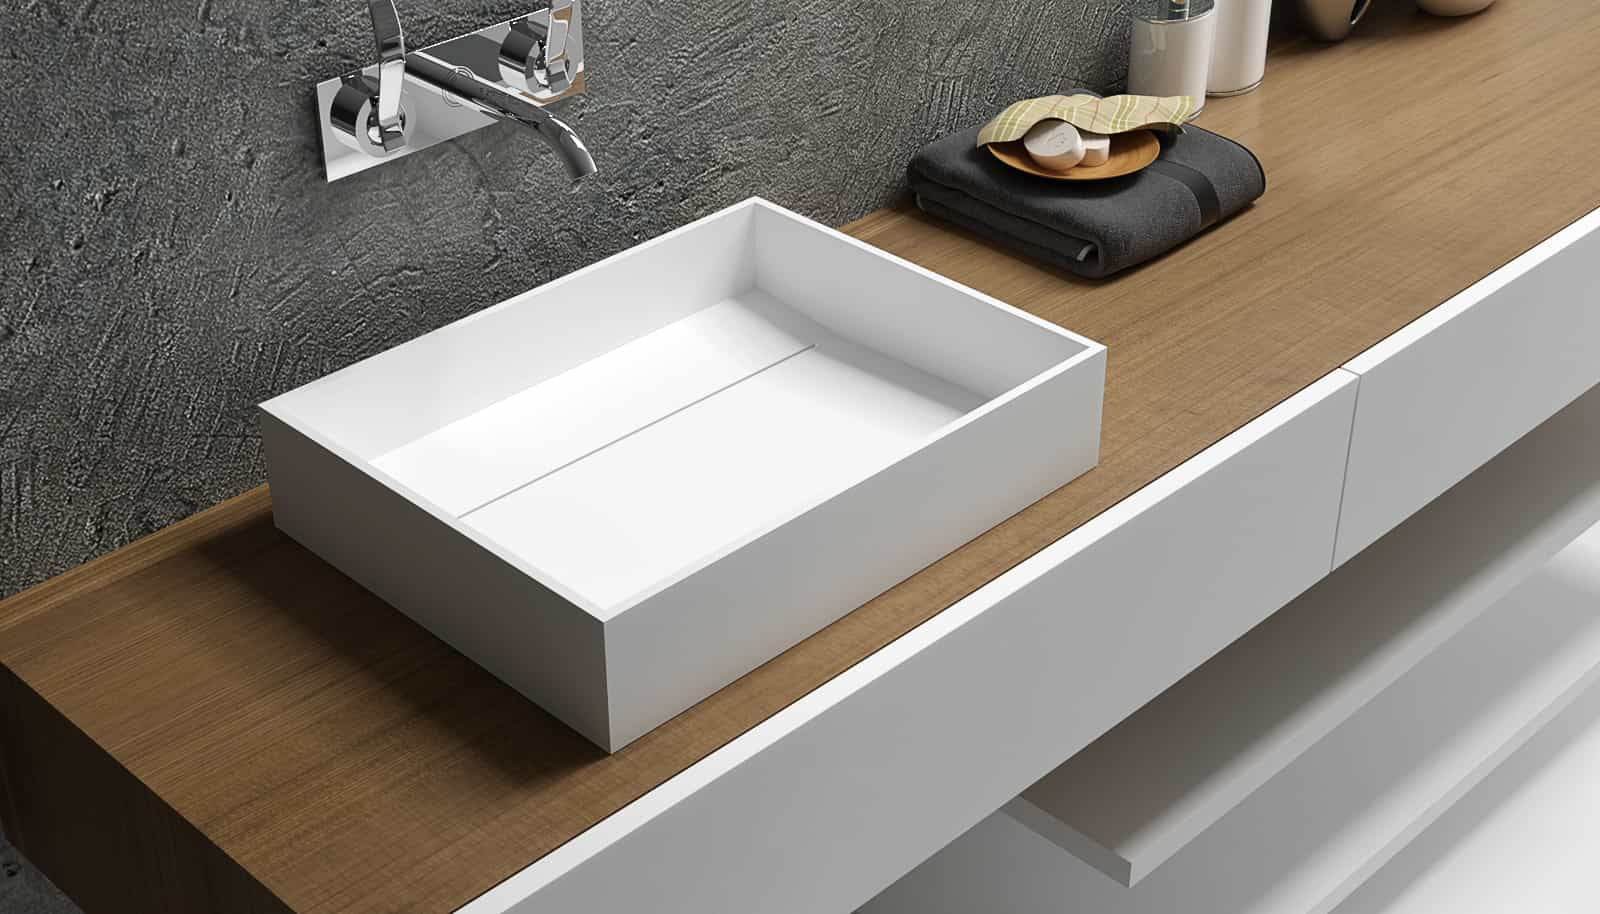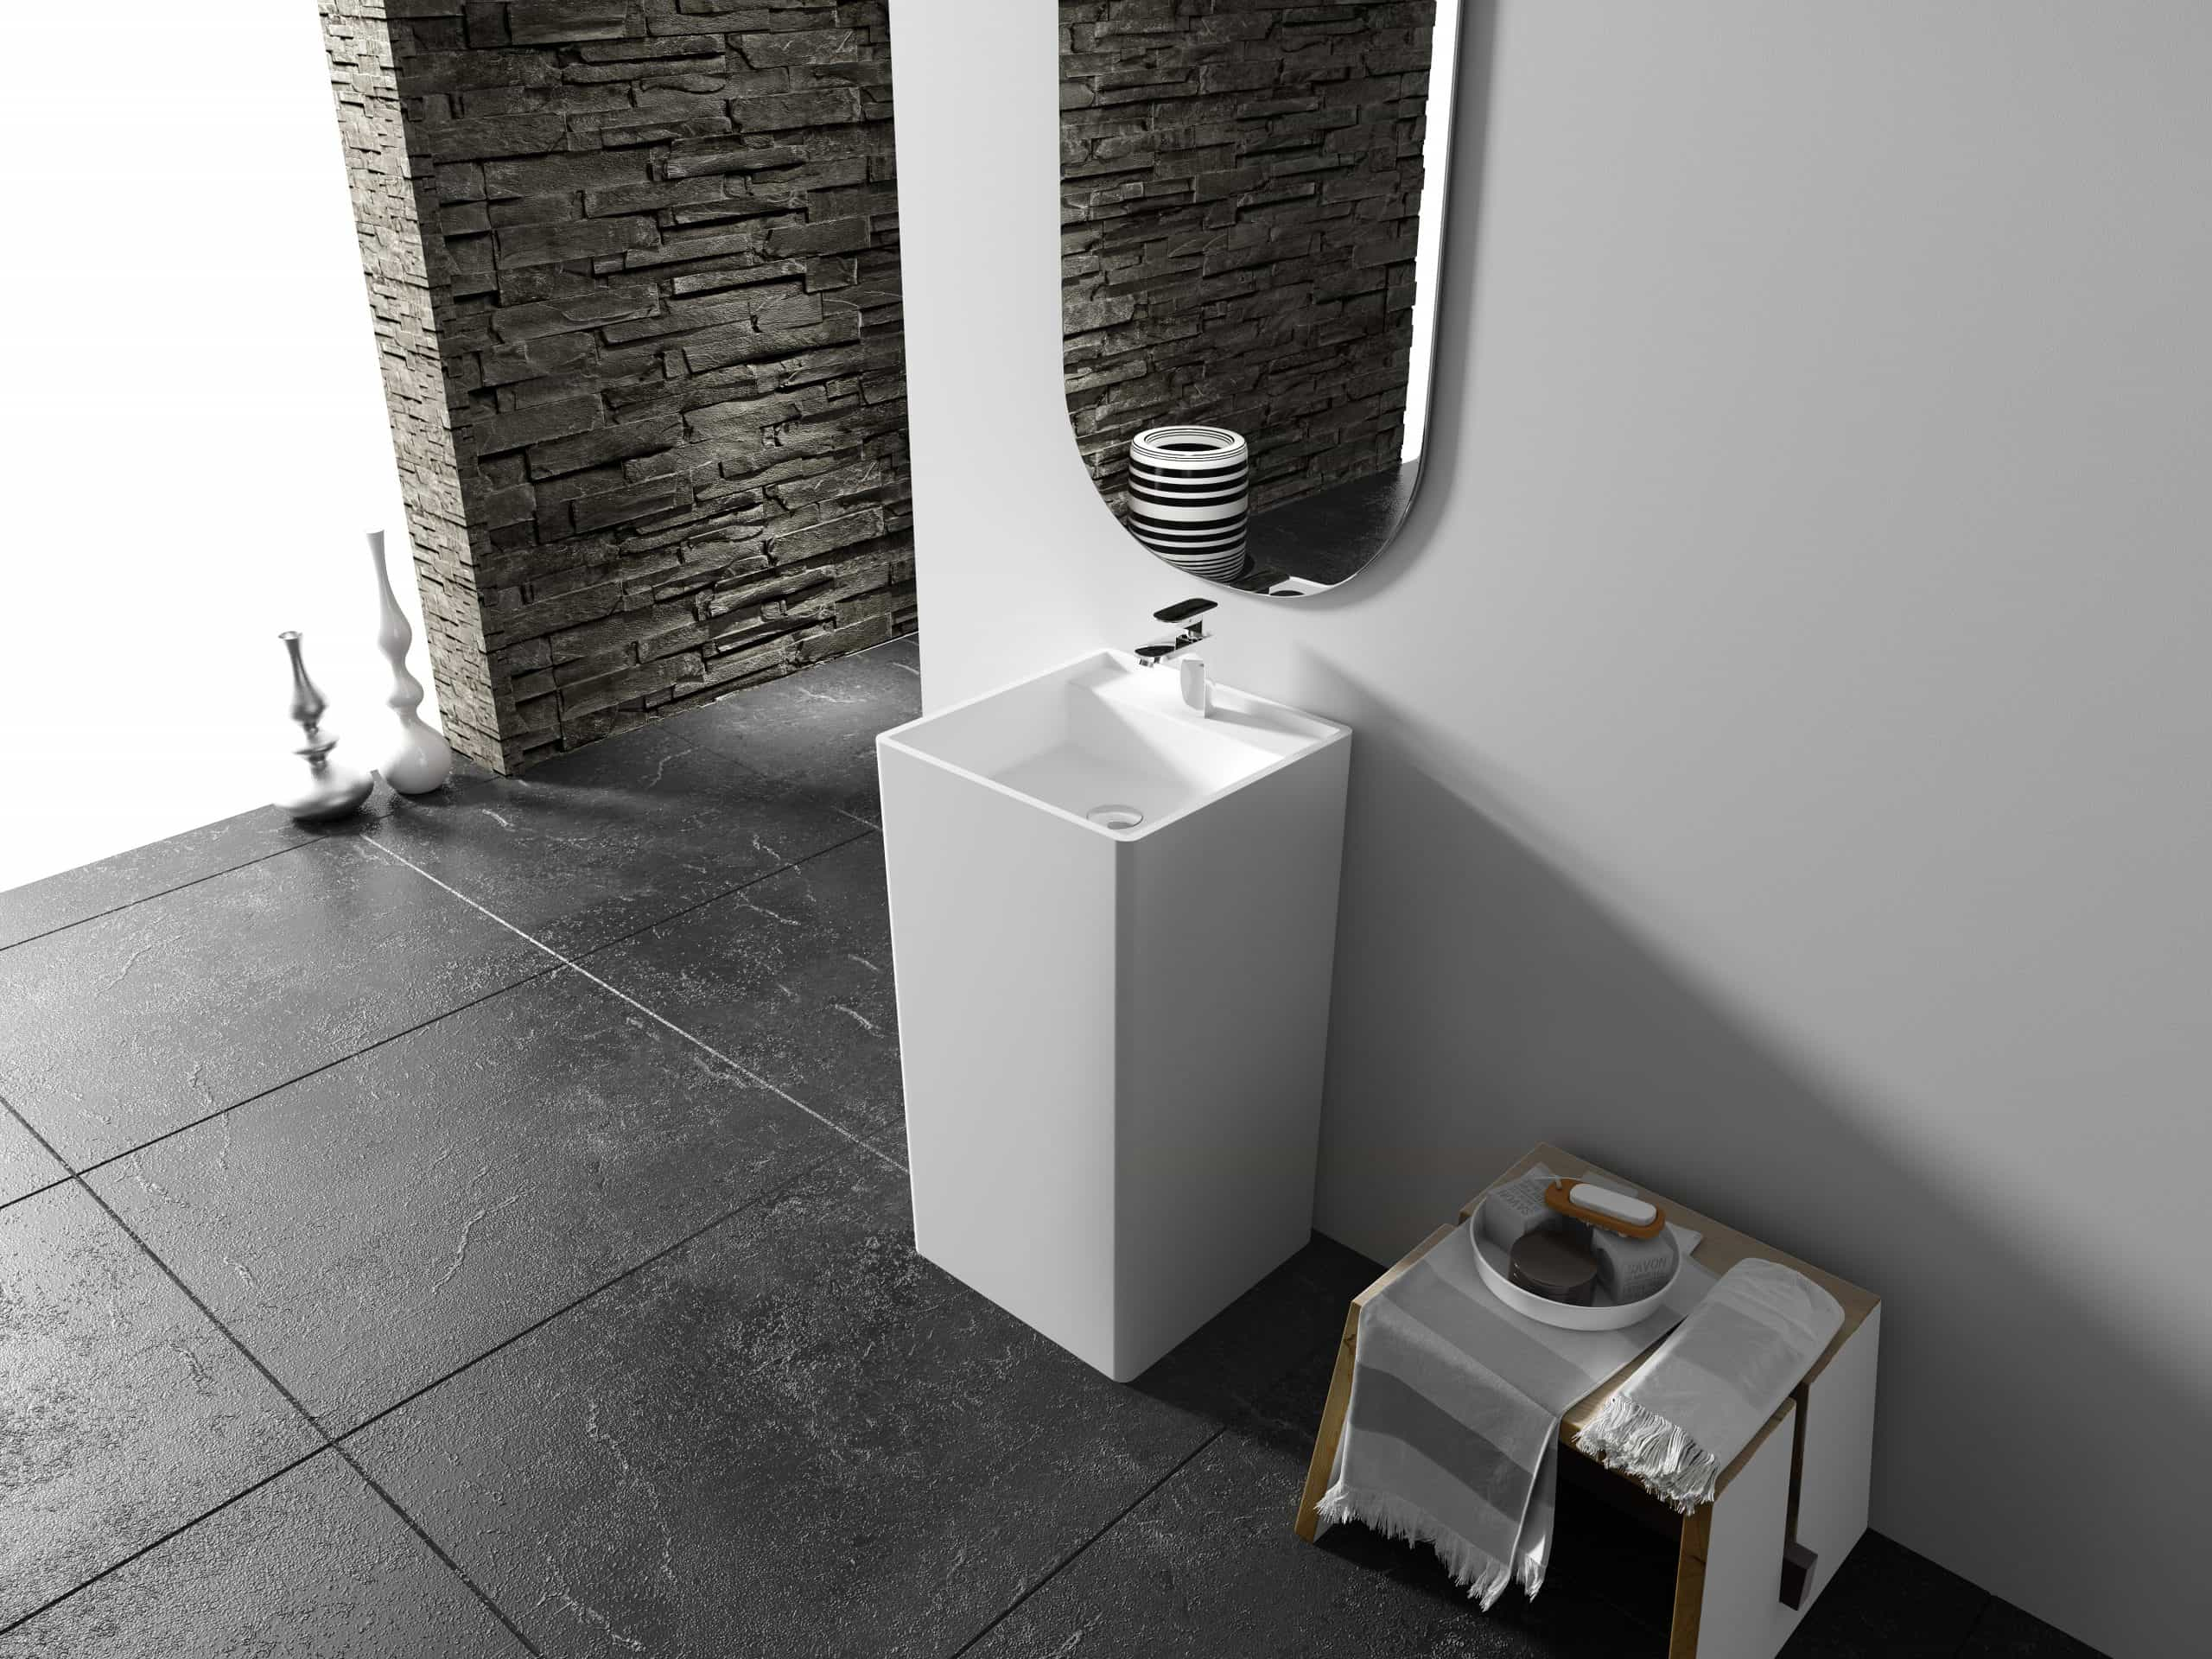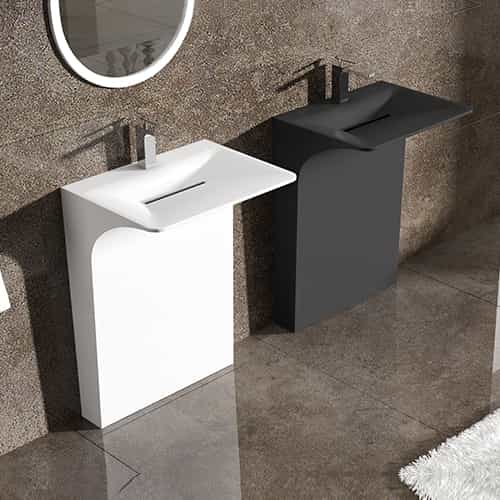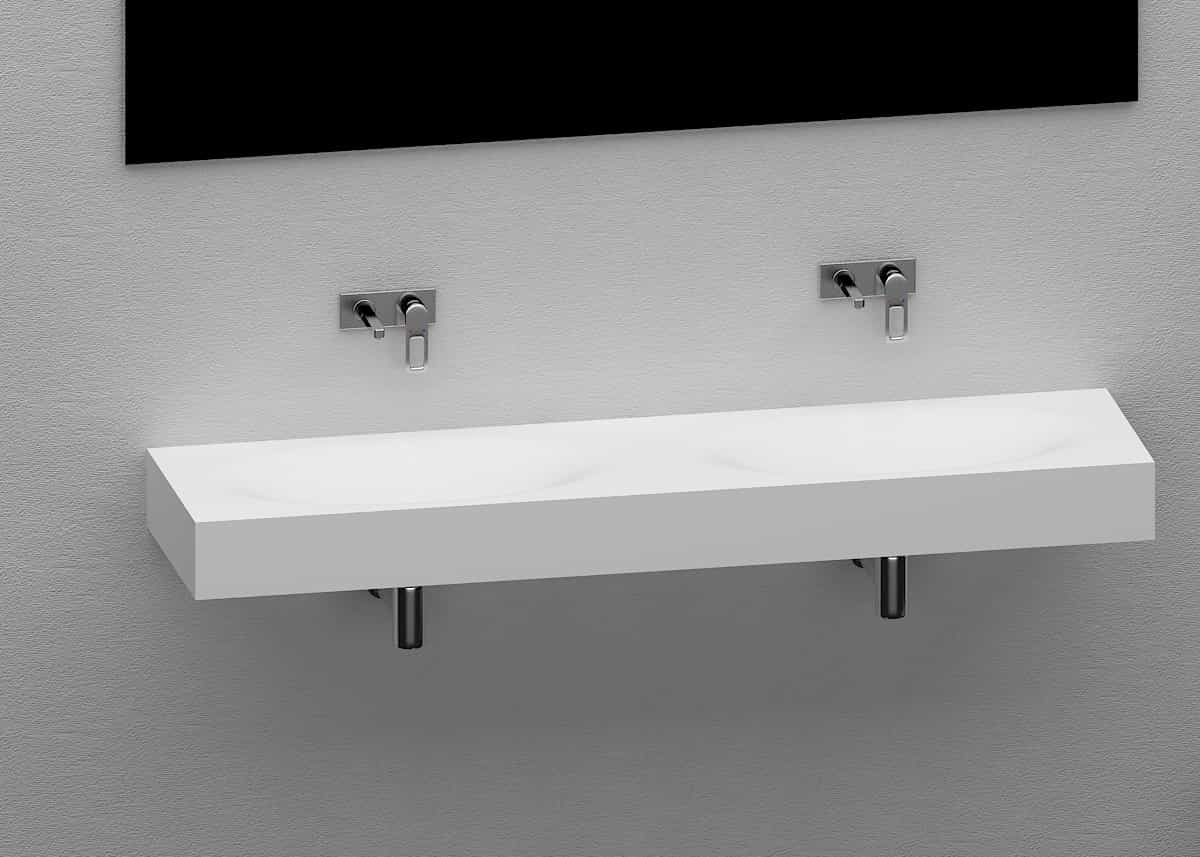
The faucet is something we have every day. If it is broken, it will be troublesome. Let’s take a look at the whole process of replacing and installing the bathroom basin faucet.
1. Close the inlet valve
Before replacing the basin faucet, the editor first shuts off the water inlet valve. The water inlet valve is located under the kitchen countertop. However, according to the editor’s understanding, if the valve is not closed tightly or cannot be closed, it can be operated with water. However, when installing the new faucet, it must be prepared in advance with a raw material tape for 7-8 turns along the thread direction (if there is less winding, it will easily seep water). A large bucket should be prepared under the water pipe to collect water to prevent waste; in addition, when the valve cannot be closed, be sure to open a new faucet and other faucets to divert and reduce pressure.
Second, remove the basin faucet
In the first step, the editor first separates the water inlet pipe and the hose with a wrench. The water inlet pipe in the bathroom is an open pipe, which can be shaken by hand, so I am afraid it will be broken accidentally when it is disassembled. Therefore, when disassembling, the editor is very careful, holding the water pipe with his left hand, twisting the wrench with his right hand, and separating the two easily.
Separate water inlet and hose
The second step is to remove the fixing part of the faucet so that the faucet can be removed from the basin. But here comes the problem. The hose of the faucet has been used for a long time, so the hose has become brittle, and the fixing parts have been rusted, and it is impossible to unscrew it with a wrench.
Separate faucet and basin
The third step is difficult to operate due to the small space under the basin. Moreover, the glass glue between the basin and the countertop has long since expired, so the basin can be easily removed from the countertop. After the basin is removed, the construction will not get in the way. Then use a saw to cut off the rusty and hard-to-remove part, and the faucet was successfully disassembled.
Saw off the interface with a saw
3. Install the basin faucet
1. First put the hose into the faucet and connect it. Then connect the screw rod to the faucet interface, put the rubber ring on the faucet, then extend the faucet into the basin, and add the rubber pad and gasket. Finally, fix the screw with a wrench.
Assemble and fix the faucet
2. Since the basin faucet is a hot and cold faucet, the internal water valve is a three-way connection, and there is only one water inlet, so only one hose can be connected. And the other hose should also be connected to the faucet, but the other end must find a way to block it. The editor consulted the owner of the hardware store, and he recommended using a wire plug to seal it. In addition, as mentioned earlier, the hose of the faucet is only 50 cm, but the actual need is about 60 cm. Therefore, I selected a matching 60 cm hose at the hardware store, wound it with a raw material belt, and connected it to the .
Replace hose, add plug
3. At this point, the disassembly and installation of the basin faucet is completed, and the rest is some cleaning and gluing work.
Basin faucet complete
The above is the whole process of Xiaobian replacing the bathroom basin faucet diagram.