Everyone will not feel strange, because the bath has become the preferred heating equipment for many families to bathe. Let’s take a look at how to safely use the bath bully and the bath bully installation tips. Check it out with PChouse.
First, how to use the bath bar safely
【 Choose high quality, brand heating lamp bath 】
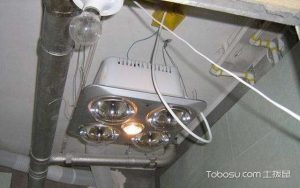
According to reports, the general bath heating bulbs are infrared quartz radiation lamps, this heating method heats up fast, no damage to the body. It can be heated to about 25 degrees Celsius in an instant, and the general bath is divided into 2 bulbs and 4 bulbs, which should be purchased according to the size of their bathroom space. If the bath bar of 2 bulbs is generally enough to use under 5 square meters, and a slightly larger bathroom can choose a bath bar of 4 bulbs. At present, heating bulbs are generally waterproof and explosion-proof, and some heating bulbs have protective nets outside.
Bath Ba products generally set lighting, heating, exhaust three functions in one, after installation, the whole bathroom will often save a lot of space. In general, the color, size and style of the appearance of the bath should be consistent with the decoration style of the bathroom, so as to be coordinated. In addition,
Because bath ba belongs to the electrical appliances with more contact with people, once the quality is not up to standard, the occurrence of leakage electric shock will directly cause harm, so you should choose the big brand products as much as possible, generally can provide three years free warranty.
【 Two kinds of light bulbs should not be used at the same time 】
When the bath is opened, the four heating bulbs and lighting bulbs are used at the same time, which not only consumes electricity but also is unsafe, the power of the four heating bulbs can reach up to 1100W, long-term use, may easily cause some old houses to trip the line. At the same time, the standing time under the bath should not be too long, generally should not exceed half an hour, otherwise it is easy to be injured by strong light radiation.
Because the brightness of the heating bulb is high enough, many manufacturers have designed the lighting bulb to automatically cut off when the heating bulb is turned on, but some early models do not have this function, in order to avoid waste, users should not turn on the lighting at the same time. And many users like to read in the bathroom, if the use of high brightness heating lights as lighting, it is easy to cause damage to the eyes.
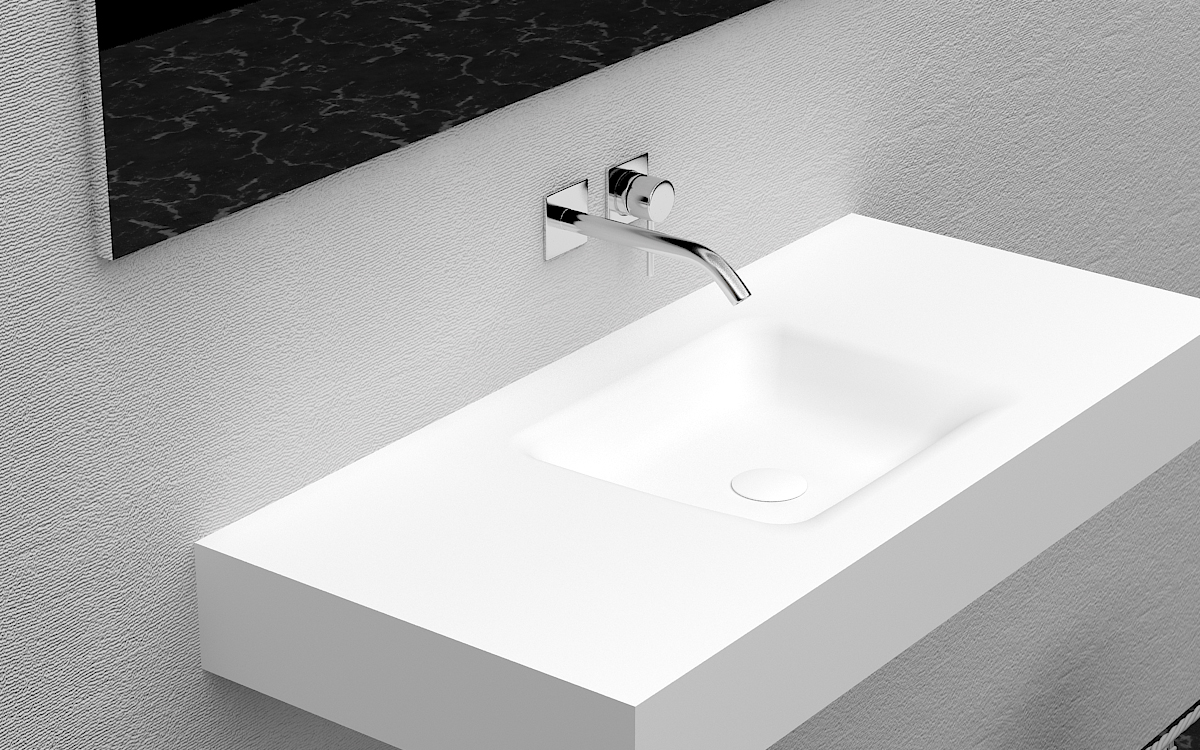
【 Installation should not be too low 】
When installing the bath bar, try to choose the overhead installation, rather than the side of the body as in some hotels. It is best not to be too low from the head, theoretically it should be above 40 cm, so as to ensure that it is warm and does not burn the skin.
【 Do not spray with water at work 】
Although the current bath is composed of waterproof high temperature resistant bulbs, the motor in the gap next to it is often afraid of contact with water, the metal conductive property in the motor is very strong, and contact with more water is easy to cause short circuit of the power supply, causing danger. In addition, the heating bulb of the bath can reach 165 degrees after opening, and you must not touch it with your hand, otherwise it is easy to burn, and you should try to avoid close contact with the baby.
Second, bath master installation skills
Bath bar Installation tips Step 1 – Determine the bath bar installation location
The height of the lowest bulb from the ground after installation should be between 2.1 meters and 2.3 meters. In order to achieve the best heating effect, the bath bar should be installed in the bathtub or shower room center directly above the ceiling. Please use materials with better strength and not easy to resonate, too high or too low will affect the use effect. (Warm tips, generally when using the bath bully is the back close to the bath bully, do not directly head at the bath bully, affecting the health of the body.) Bath bully installation tips
Step 2 – Install ventilation Windows
One end of the ventilation pipe is covered with a ventilation window, and the other end is fixed at the outlet of the external wall along the ventilation window from the outside of the wall. The gap between the ventilation pipe and the ventilation hole is sealed with cement.
Bath bully installation tips Step 3 – Open the outlet ventilation fan
The children’s shoes with the ceiling at home should not need this step, and the air outlet is opened in front of the ceiling. The installation of the ventilation fan needs a air outlet to suck out the indoor air, even if it is cold, it needs fresh air. For children’s shoes without suspended ceiling, you can refer to the following air outlet size standards according to the requirements and methods of different gusset plates for reserved installation ports. 1. Aluminum gusset ceiling bath bar opening size is 300mm*300mm or 300mm*600mm(you can leave a 300*300 gusset position not installed). 2, strip aluminum strip plate (or plastic steel buckle plate), before the ceiling should be reserved for the bath bar installation port size. 3, waterproof gypsum board ceiling and sauna board ceiling, because to confirm the position of the keel, please also determine the size of the bath bar installation hole reserved when installing the gusset.
Bath Bully Installation tips Step 4 – Leave wires
Bath Ba is generally divided into lamp warm bath ba and wind warm bath ba, different bath ba line standards are not the same, such as: wind warm bath ba: reserved five groups of lines, including a lighting group, a group of internal circulation hair dryer, a group of PTC heating tablets, a group of negative ions, a group of ventilation. Lamp warm bath: Reserve four groups of lines, lighting one group, lighting two groups, ventilation one group.
Bath bully installation tips Step 5 – Fixed bath bully
Take off the mask, unscrew all the light bulbs, remove the spring from the ring of the mask and remove the mask, and then connect the cable, connect one end of the flexible cable with the switch panel, and pull the other end together with the power cord from the ceiling hole, open the terminal cover on the box, connect the cable according to the wiring diagram and terminal mark, cover the terminal cover, and fix the terminal cover with screws. Then plug the excess wire into the ceiling so that the box can fit smoothly into the hole.
Bath Master Installation tips Step 6 – Install Bath Master
First of all, connect the ventilation pipe, pull the ventilation pipe into the indoor end of the centrifugal ventilator shell on the outlet, and then push the box into the hole, according to the position of the outlet choose the correct direction to plug the bath box into the hole; Then fix the box on the ceiling wooden stop with four wood screws with a diameter of 4 mm and a length of 20 mm.
The above is how to safely use the bath master and the bath master installation skills, I hope to help you.