Everyone should be aware that the most critical component that determines the effect of a rain shower is the rain shower head. In addition to buying good quality products when choosing a rain shower head, the correct installation process is still very important. In order to allow everyone to install the rain shower head correctly, let’s introduce the installation skills of the rain shower head.
Types of rain shower heads
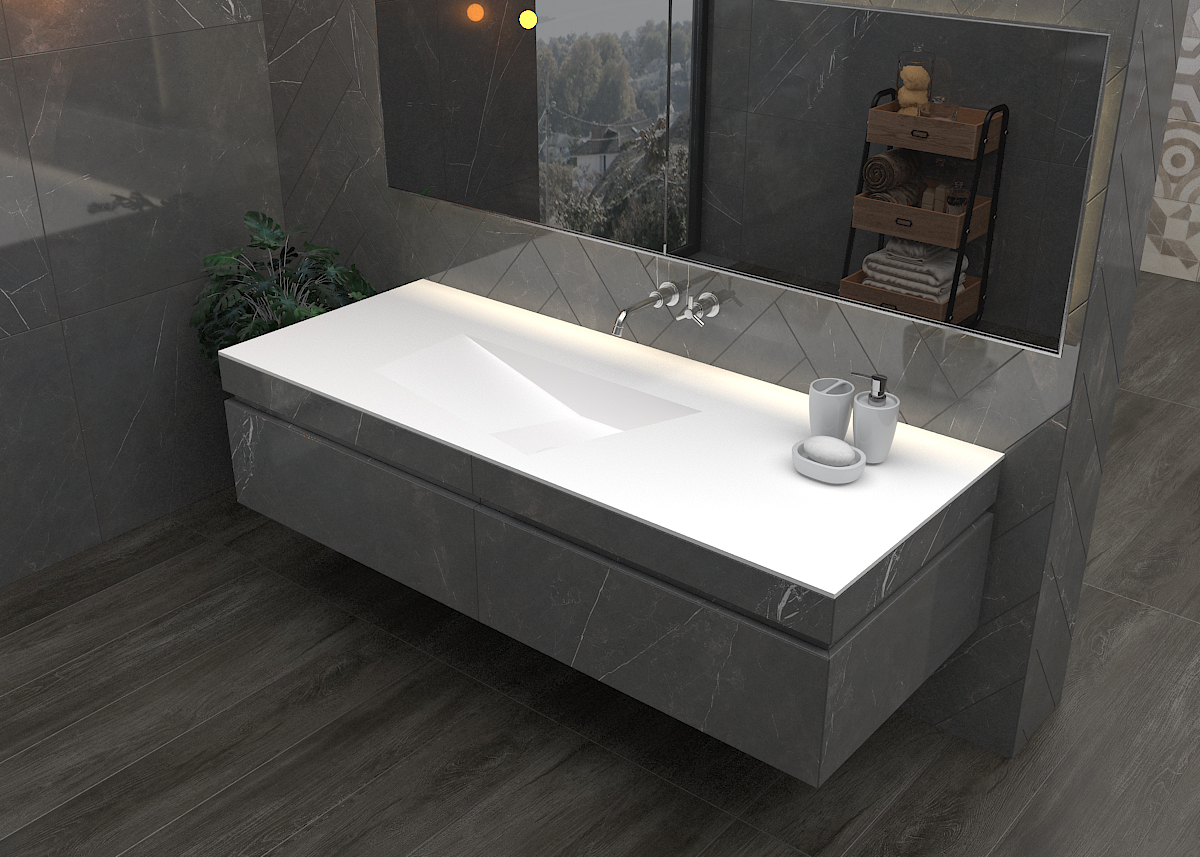
Portable rain shower head: You can hold the rain shower head in your hand and shower at will, and the rain shower head bracket has a fixed function. Overhead shower head: The rain shower head is fixed at the top of the head, and the bracket is inserted into the wall. It does not have the lifting function, but there is a movable ball on the head of the rain shower head, which is used to adjust the angle of the water, and the up and down movement angle is more flexible. Body position rain shower head: The rain shower head is hidden in the wall and sprays sideways on the body. There are various installation positions and spray angles for cleaning and massaging.
Advantages of rain shower head
Special supercharged water discharge is fine and fine, and massage eliminates fatigue: the special supercharger function, the water discharge is fine and fine, and it is gentle and delicate when it is washed on the body, very refreshing and comfortable, and there is no pain. Eliminate fatigue, promote metabolism, increase cell vitality. Sterilize, deodorize and filter impurities, pure and safe: Mineralization balls and negative ion balls can filter and eliminate odors, sterilize and antibacterial, absorb and remove foreign matter impurities such as rust and colloid in water, and purify water quality. Bathing pets with active water can effectively eliminate the smell of mutton.
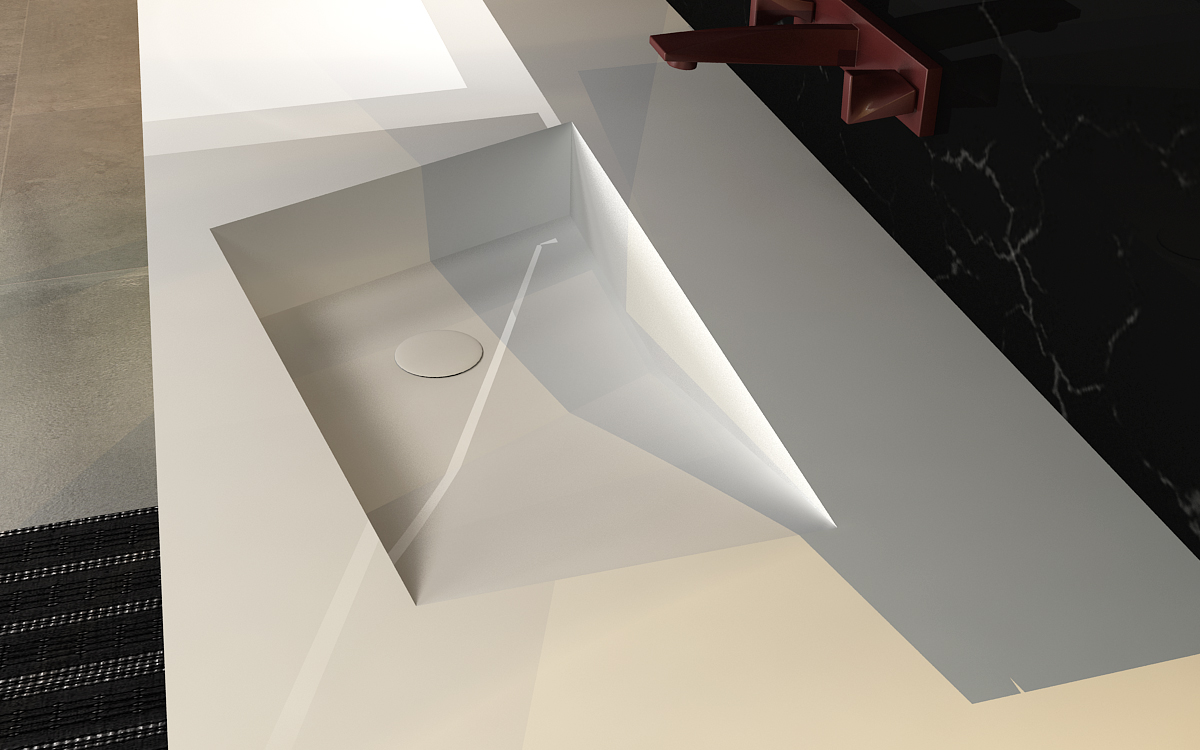
How to install the rain shower head
Wrap the two elbow joints with the raw material tape and tighten them with an adjustable wrench on the water outlet joints in the two installation holes on the wall. After tightening, ensure that the center distance between the two elbow joints is 150mm. Put the two decorative covers on the elbow joints. On the joint; insert the installation washer into the elbow joint, and tighten the installation nut on the two elbow joints with a wrench to fix the faucet on the wall.
Measure the length of the shower head first, and drill three holes with a diameter of 6 mm and a depth of 35 mm at half the length of the shower head above the faucet outlet connector. Wrap the faucet with a cloth before drilling to prevent the faucet from being soiled or damaged. Insert the expansion pipes into the drilled holes, and fix the wall base on the wall with self-tapping screws. At this time, it must be noted that the wall base must be on the same center line as the faucet outlet joint.
Insert the sealing ring C into the lower end A of the switching valve. Tighten the lower end A of the switching valve and the upper end B of the faucet through threads. Wrap the faucet with cloth 9 before drilling to avoid the faucet from being soiled and scratched. Note: Be careful not to damage the electroplating surface when tightening with a wrench.
I hope that through today’s introduction, everyone can learn to install this simple bath product by themselves, and I also hope that everyone can have a comfortable shower environment. In addition, we should pay attention to the brand advantages when purchasing, and also pay attention to choosing the type suitable for ourselves and our family. In short, it is very important to choose a rain shower head with guaranteed quality.