Bathroom sanitary ware is one of the most frequently used household products in our daily life. Its installation affects the later use. Improper installation will not only cause sanitary hidden dangers, but also bring many economic hidden dangers. So what aspects should be paid attention to when installing sanitary ware? Now, let’s introduce the installation steps and precautions of sanitary ware.
Home improvement steps and precautions Sanitary ware installation steps and precautions (pictures from the Internet)
Sanitary Ware Installation Steps
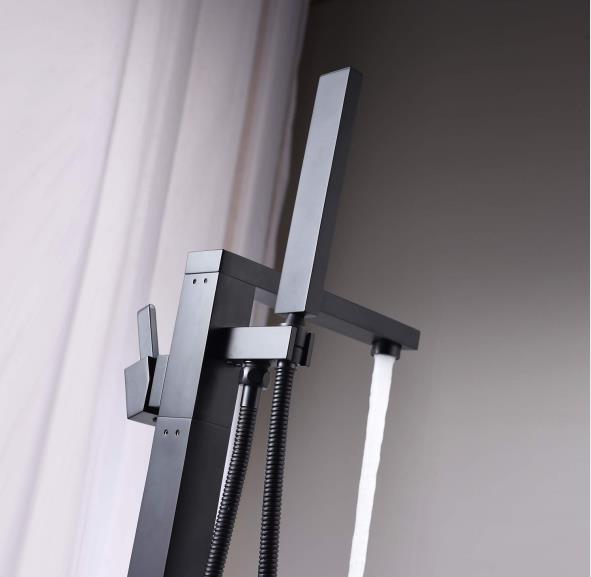
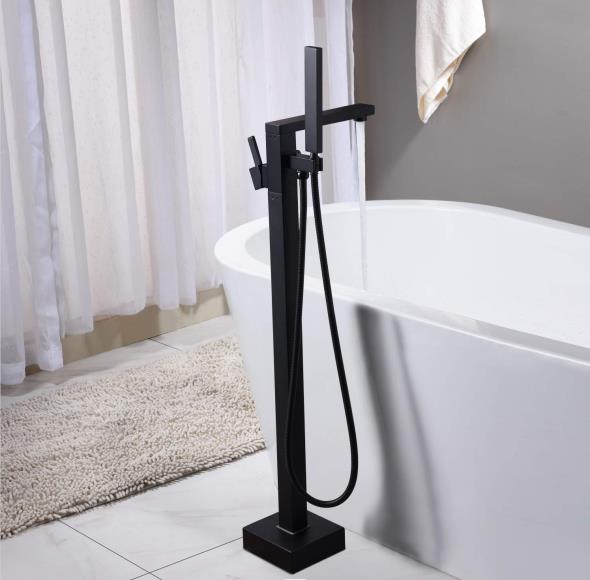
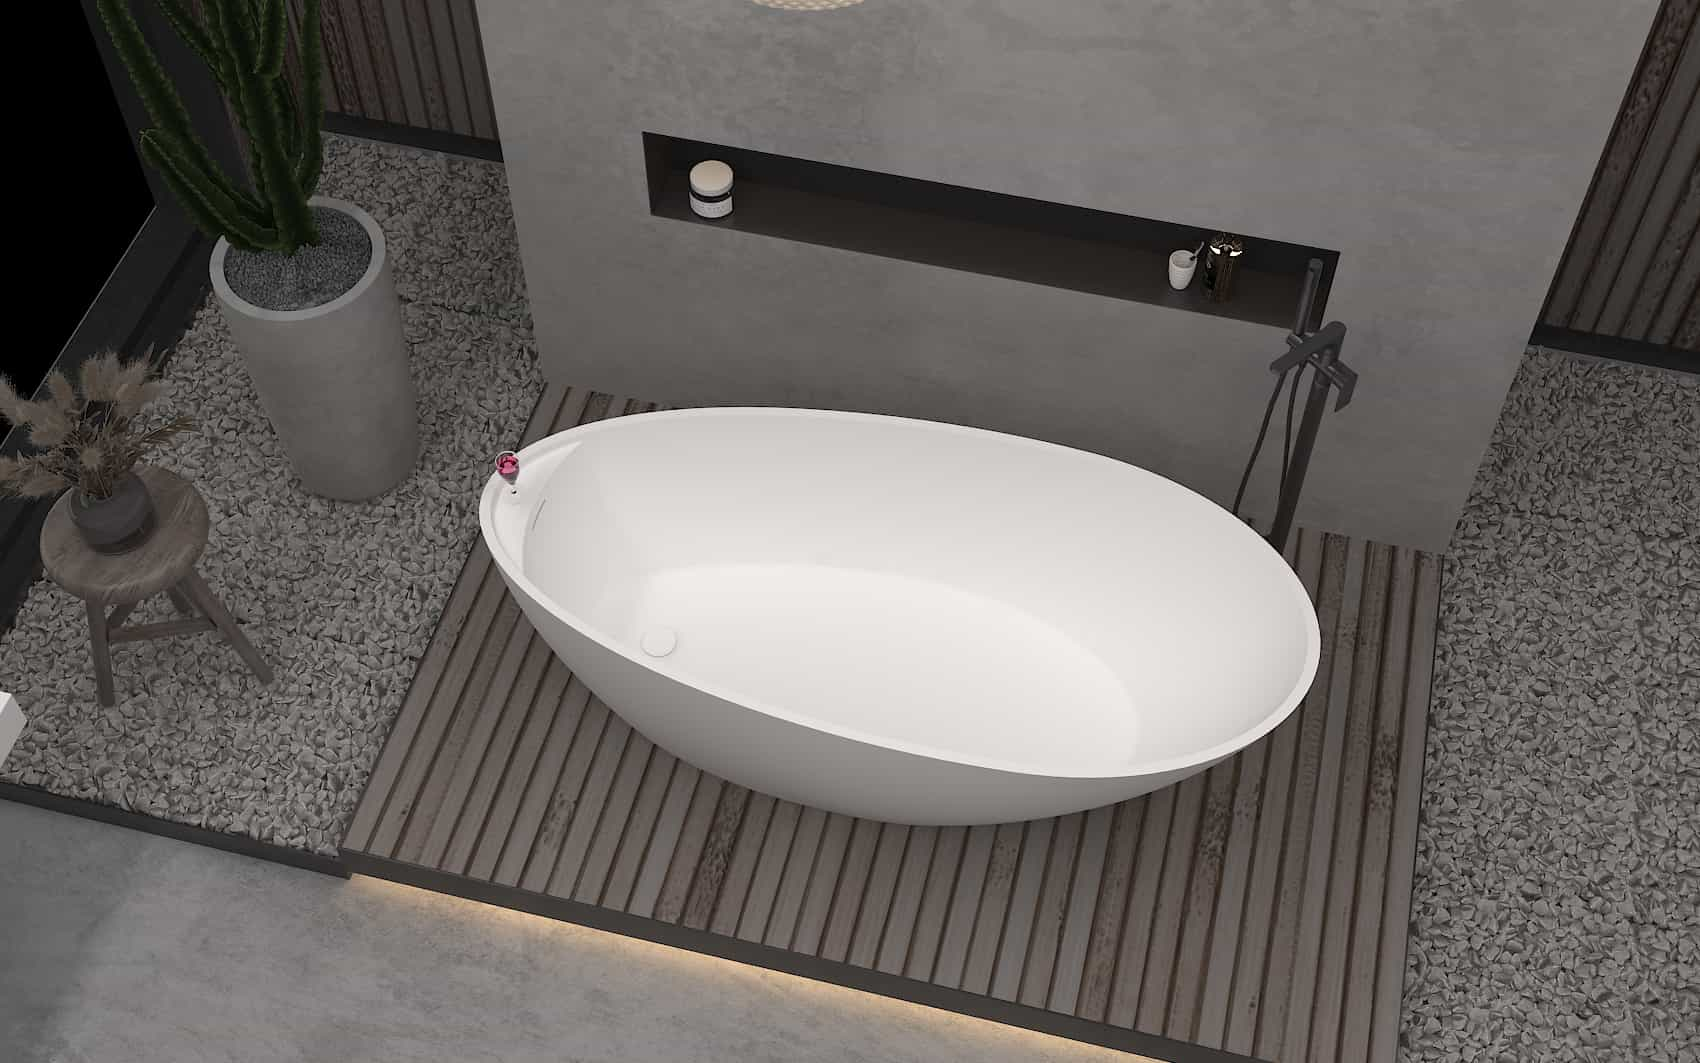
1. The installation of the bathtub
The first step is to test the water to see if there is any water leakage: before installing the bathtub, we need to install the corresponding water fittings, and we need to close the water for 24 hours, and then check the water leakage of the bathtub , especially pay attention to the overflow.
The second step is to level the bathtub: when we place the bathtub, we must pay attention that the corresponding drain port is lower than the water inlet end, so as to avoid poor sewage discharge. The corresponding bathtub should not only be visually level, but also be careful not to affect the drainage.
The third step is to fill the sand: Compared with the cast iron bathtub, it is strong but has a very fast thermal conductivity, so it is necessary to use medium-sized river sand for bottoming and compaction. Of course, foam can also be used, because foam is not liquid. When filling river sand, it is also necessary to pay attention that the sand cannot leak into the downpipe.
The fourth step is to leave an inspection hole: when we install it, we also need to pay attention to leaving a hole with a height of 300mm and a width of 400mm at the drain, and carry out waterproof and anti-corrosion treatment according to the size. The purpose of doing this is to have a good mouth when we are doing maintenance in the future.
2. Installation of the toilet
In the first step, we need to take out the pipe plug of the ground water outlet, and then check whether there is any debris in the pipe, and if there is any, the corresponding debris needs to be removed. Then clean up the area around the nozzle, and then connect the corresponding outlet nozzle of the toilet with the outlet nozzle to make it level and align. Then we need to mark the bolt holes of the toilet.
The second step is to punch holes. A corresponding hole with a diameter of 20 mm and a depth of 60 mm should be drilled at the corresponding mark. Then insert the bolts into the holes, then tighten them with cement, and align the toilet eye with the bolts. Then paint the putty around the corresponding water outlet of the toilet and the mouth of the sewer pipe, and screw the corresponding four bolt holes of the toilet until the tightness is moderate.
The third step is to install the center of the rear end of the toilet. Install according to the corresponding drawing or the marked part, and the relevant bolts need to be fixed. The degree of fixing needs to be moderate and not too tight.
The fourth step is to install the back tank. When installing the back tank, we need to pay attention to the appropriate size, not too loose or too tight.
The fifth step is to connect the water. The installation of the water supply system also needs attention, and it must not leak. When you finish receiving the water, you need to pay attention to the moderate tightness.
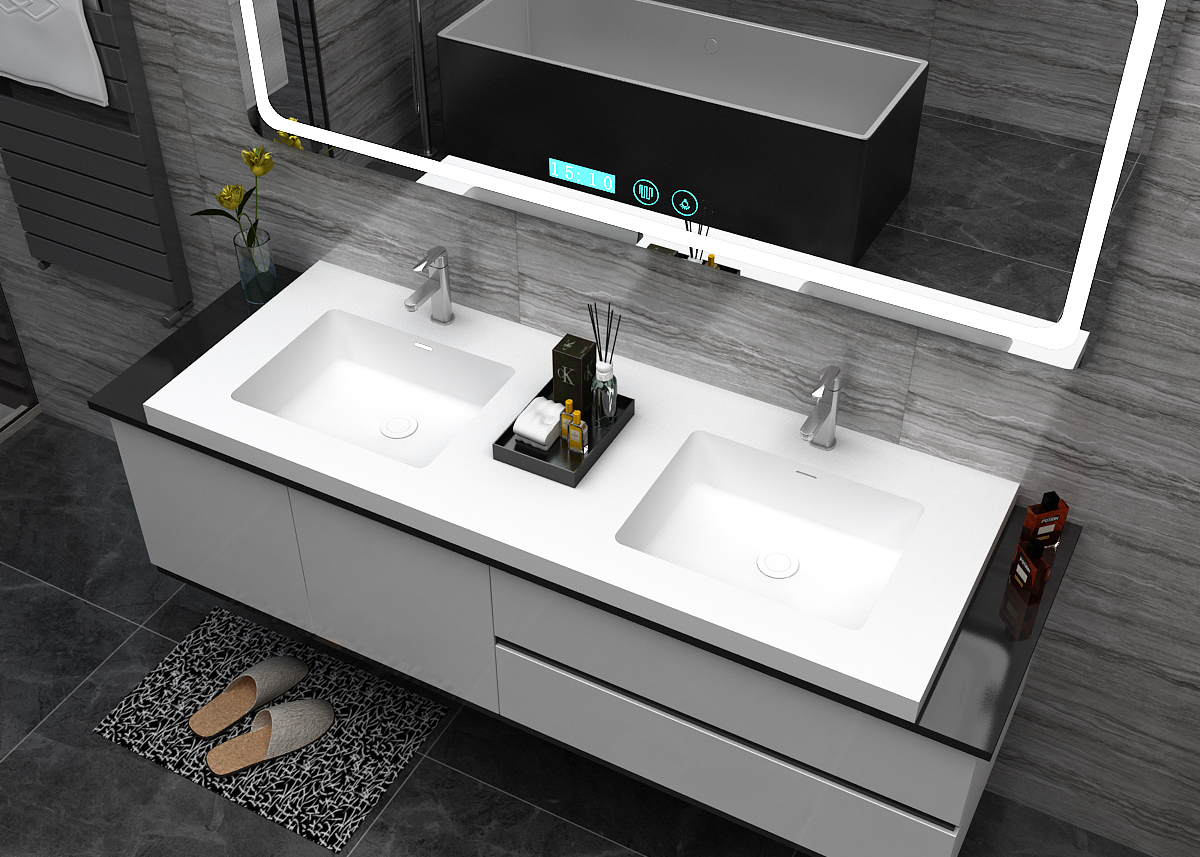
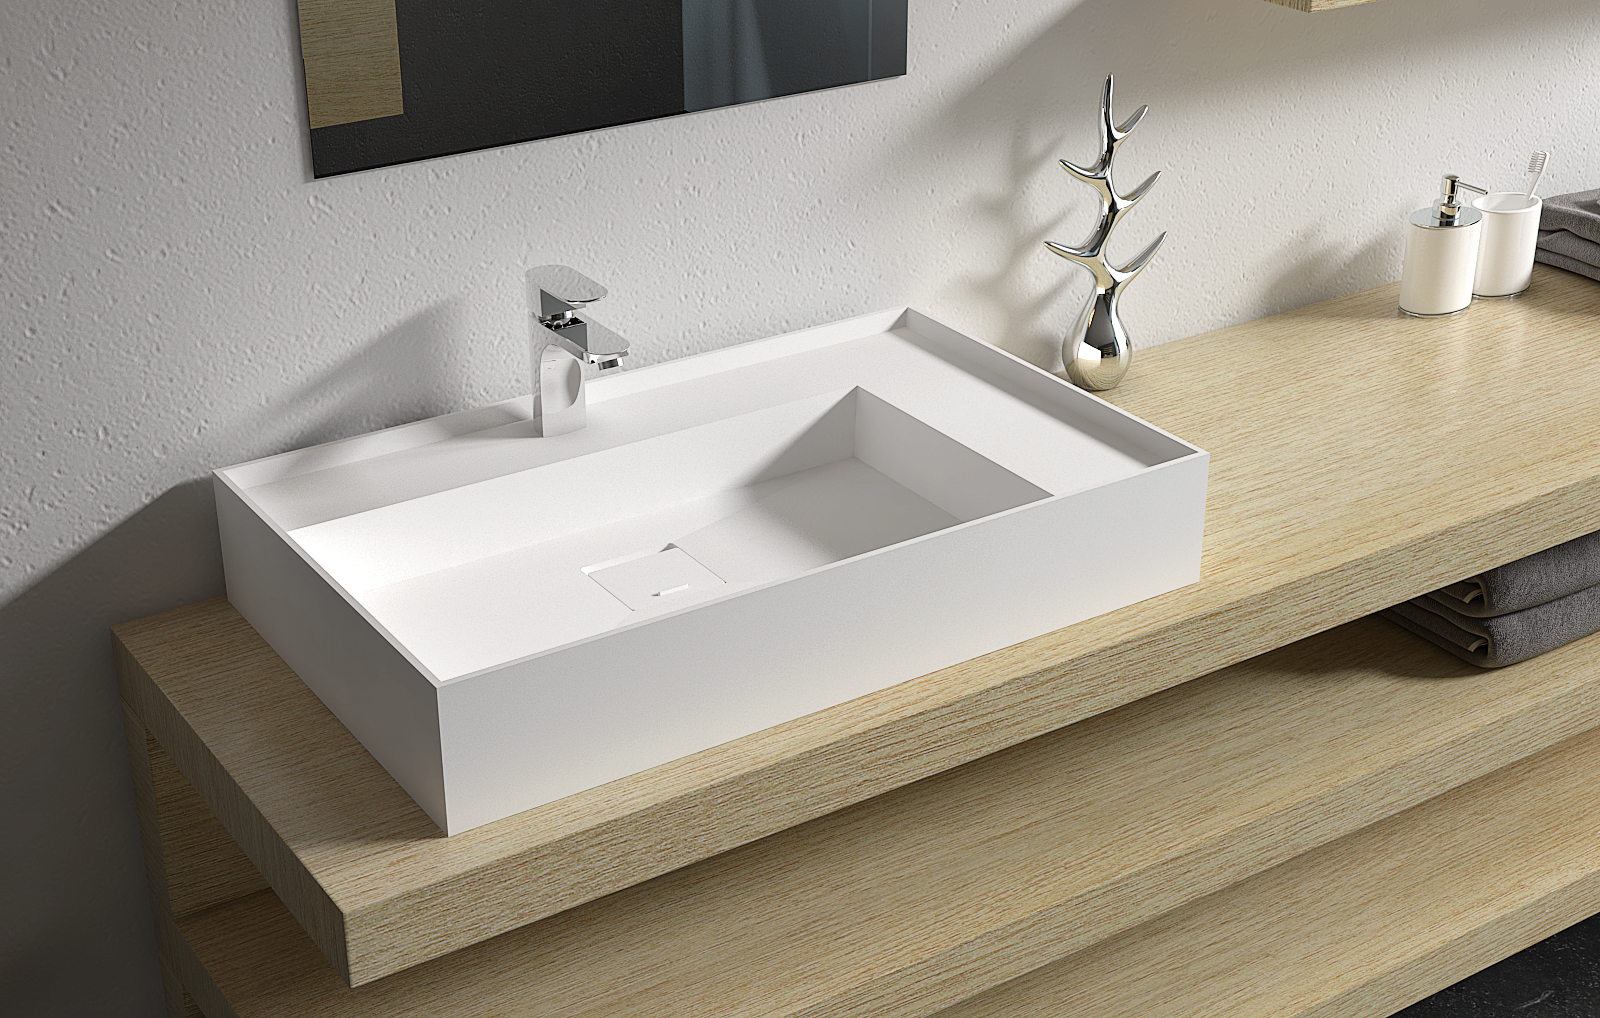
3. Installation of washbasin
The first step is the installation of the washbasin: when we install the pipe rack washbasin, we must first draw the line of the drain pipe mouth, then measure the specified height from the ground, and draw a horizontal line on the wall. Mark the mark according to the width of the washbasin, and then make a 120 mm deep hole. Clean up related sundries and keep the installation site clean.
The second step is the installation of the cast iron washbasin: same as the installation method above, it is also necessary to mark the center of the drain pipe mouth, then measure the height, and draw a horizontal line to form a cross line. Mark on the center horizontal line according to the width of the washbasin, and arrange the basin frame, reserve the position of the screw holes, and mark the size.
Precautions for installation of sanitary ware
1. Do not damage the waterproof layer. If the waterproof layer has been damaged or there is no waterproof layer, it must first be waterproofed and undergo a 12-hour water leakage test.
2. The sanitary ware is firmly fixed and the pipe interface is tight.
3. Pay attention to the protection of finished products and prevent bumps on sanitary ware.