It is not easy to install the washbasin in the bathroom to be both beautiful and strong. The washbasin is a basic part of the bathroom and is also the most frequently used sanitary ware. It is used for washing face, brushing teeth, washing hands and some regular washing. The bathroom should be decorated practically and beautifully, and the treatment of the washbasin is very important.
Basin installation construction process
Insert the expansion bolt → twist it firmly → hang the basin pipe rack → put the washbasin on the rack for leveling → water connection: wash basin → straighten → water supply connection.
space determines form
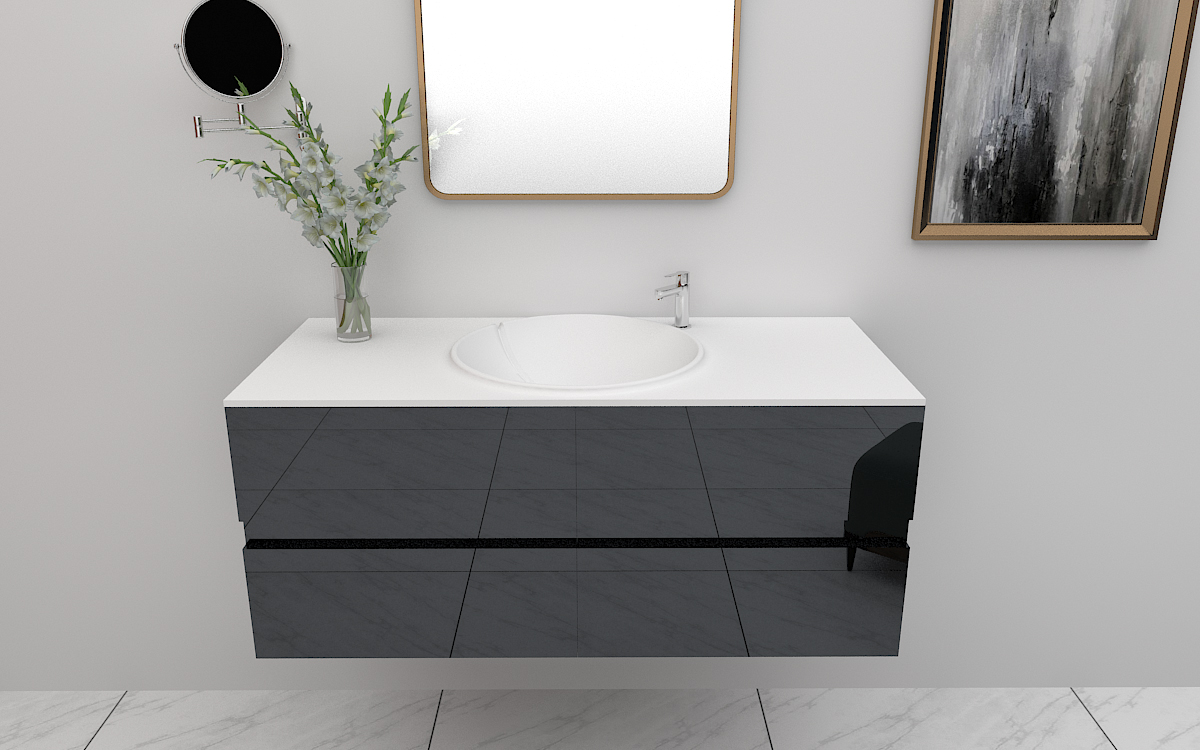
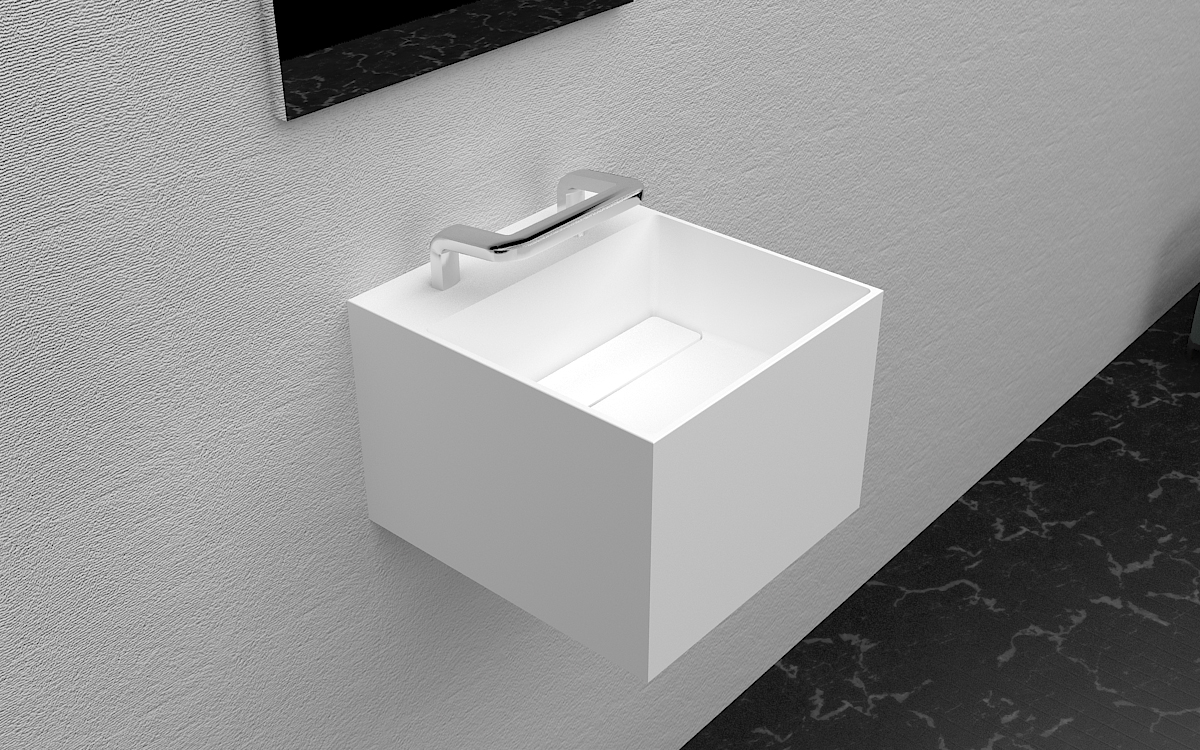
Washbasins are roughly divided into two types: freestanding and desktop. The independent style is beautiful in shape, small in floor space, and easy to maintain, suitable for bathrooms with little space. But it needs to be equipped with a mirror box or a washstand in order to use the space above the pool to place some toiletries and cosmetics. The desktop washbasin must occupy at least the space of a small desk. Washing utensils can be placed on the countertop, and sundries can be placed in the cabinet below. If the bathroom area is not large, you can consider installing a triangular washbasin in the corner, and a triangular sundry rack can be hung above the pool to store washing supplies.
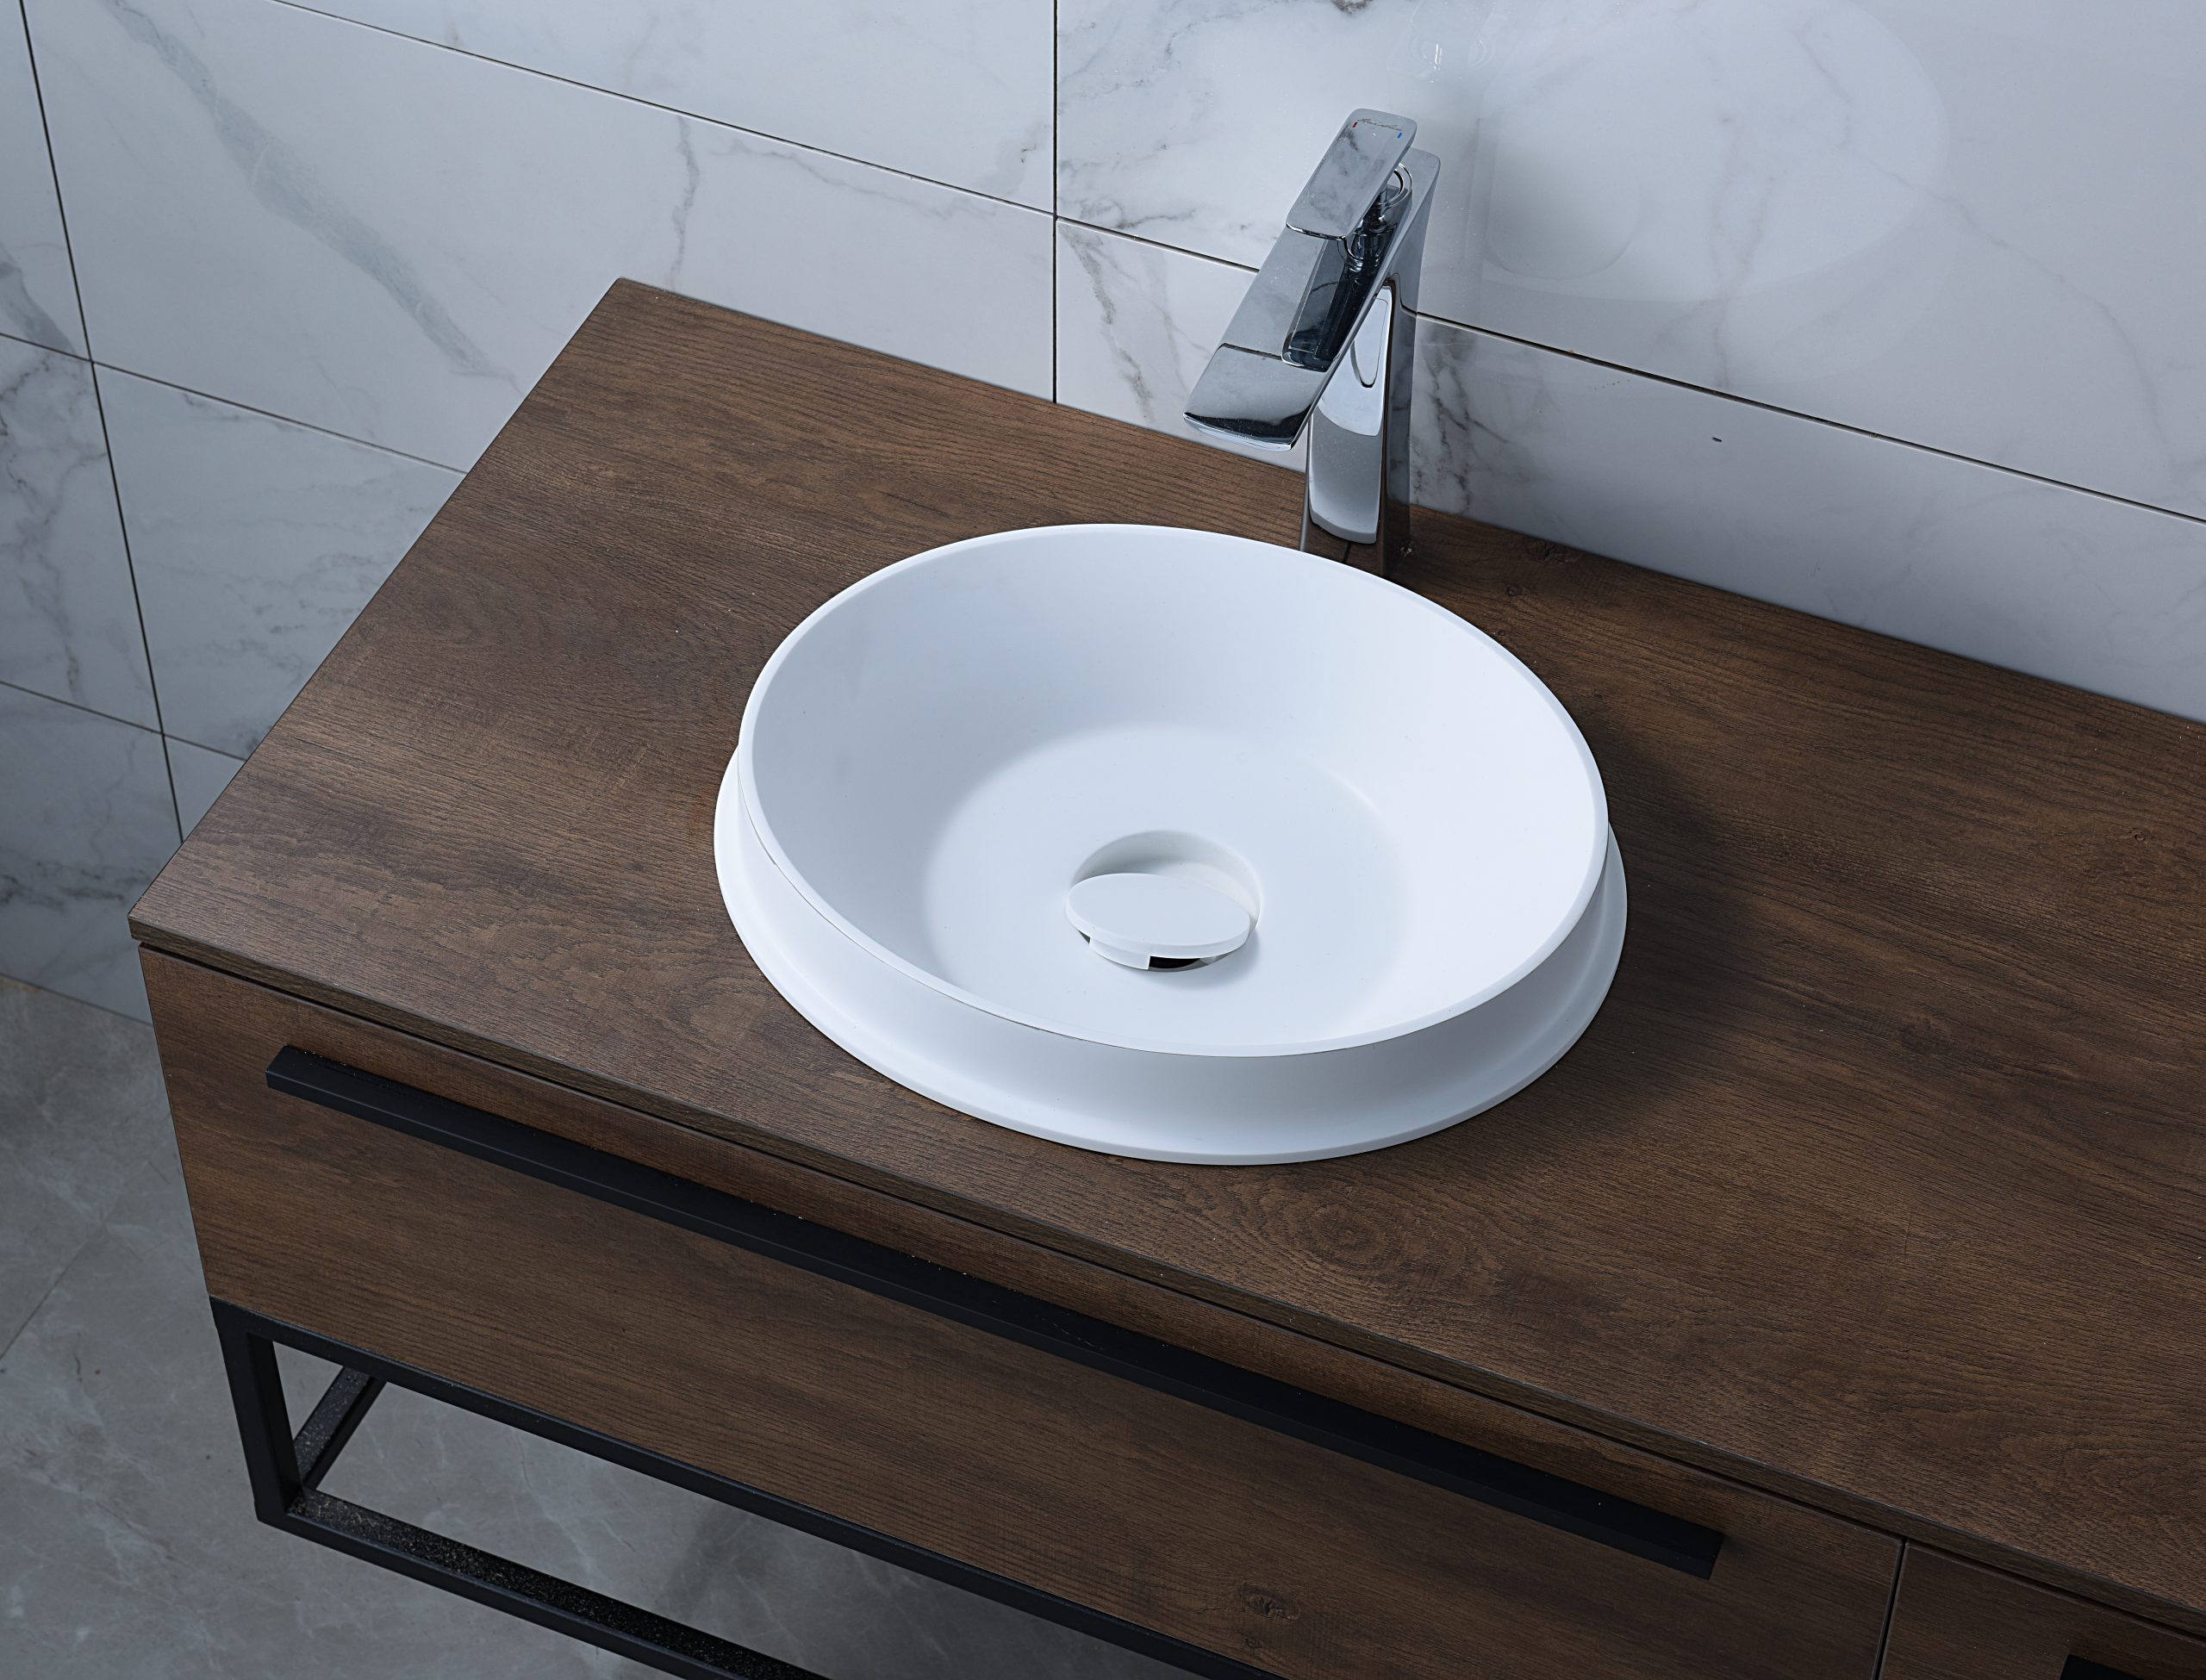
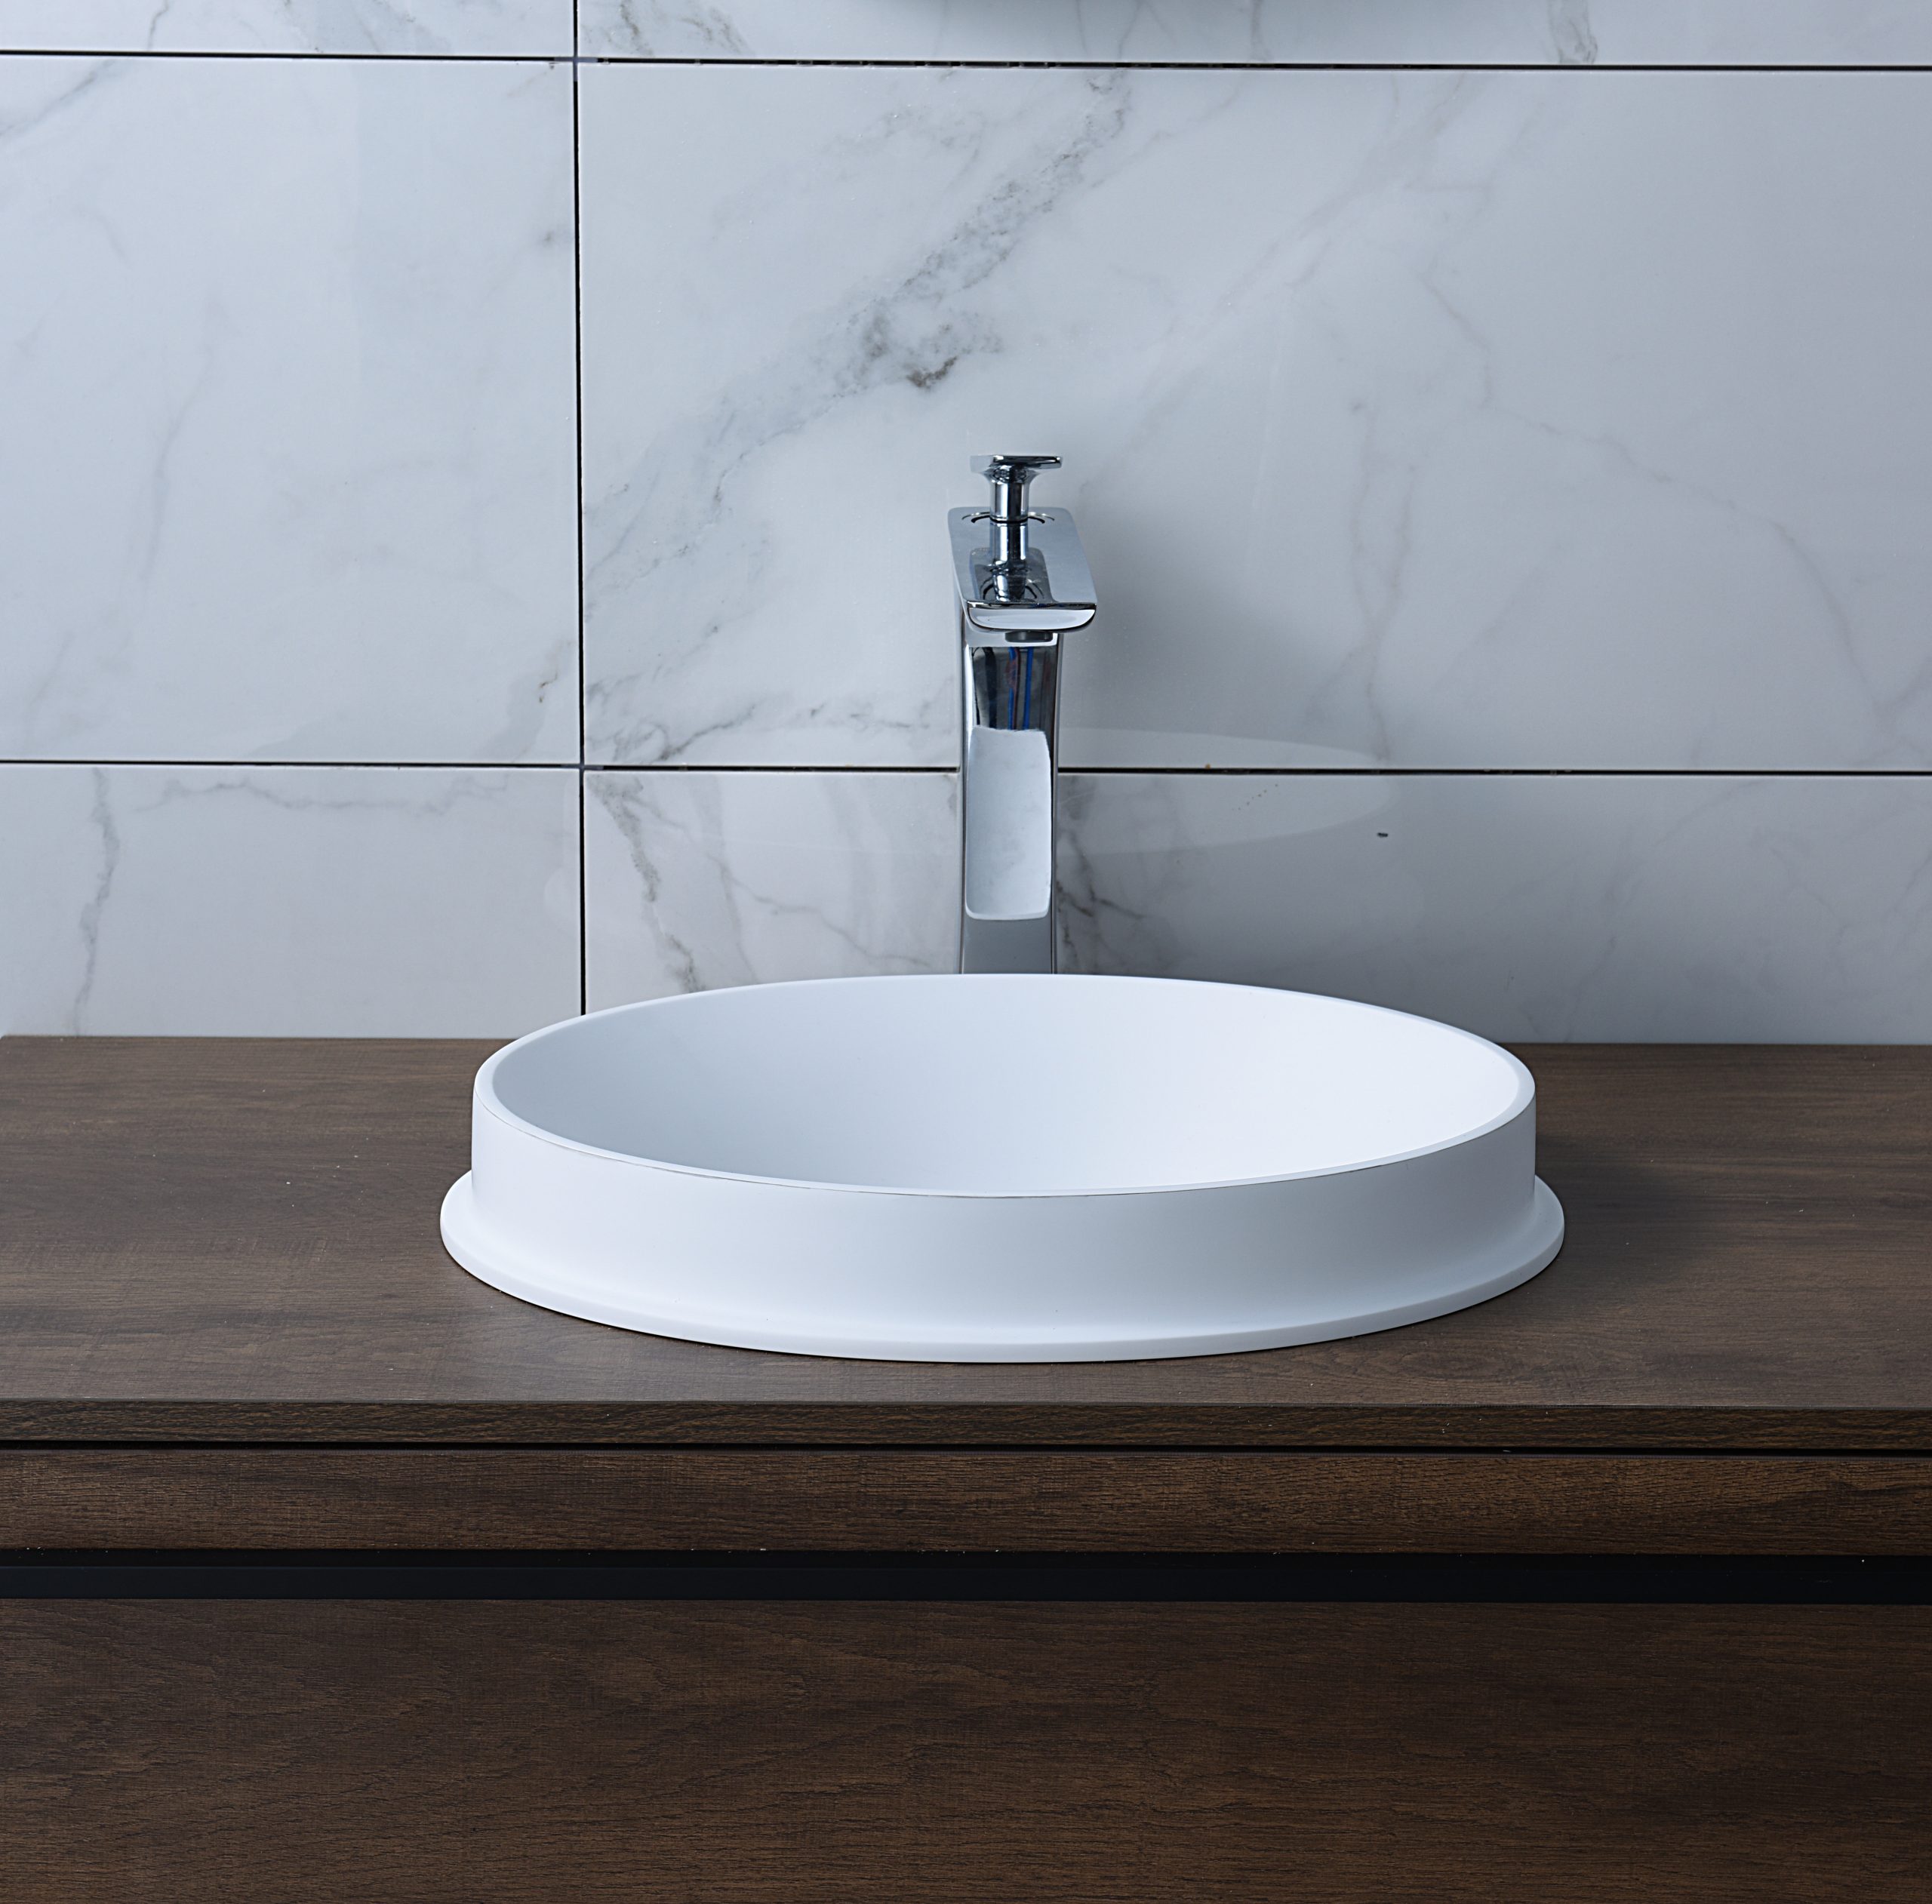
Pay attention to the height: Whether it is a free-standing or desktop washbasin, the height of the pool or countertop from the ground should be 80-85 cm, because a pool that is too short will cause back pain.
Pay attention to the smoothness: the edge of the washbasin must be slightly higher than the table, but the connection with the table must be smooth. The purpose is to wipe the water splashed on the table back into the pool without hindrance, and at the same time facilitate the cleaning of the table. The countertop itself must be made of smooth material, and the edges and corners must be smooth to avoid bumps. The smoothness of the washbasin itself is also very important. The high-gloss surface of the pool makes it difficult for the sundries in the water to adhere to the surface, which relatively reduces the number of scrubbing required.
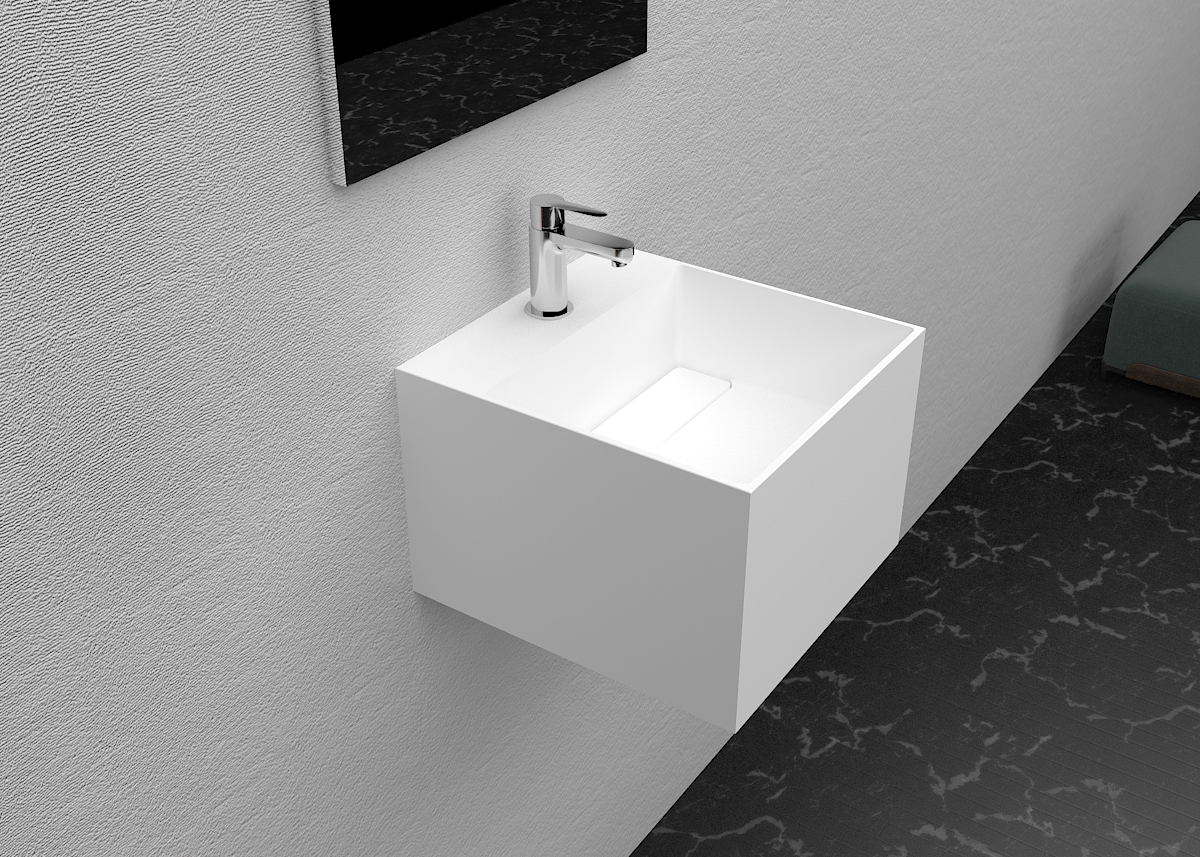
Depth and faucet: Conventionally, the depth of the washbasin is proportional to the strength of the water flow of the faucet installed on it, that is, only a deep pool can install a faucet with strong water flow. Never install a thick faucet on a pool with a shallow bottom, which will splash people when using water. The bottom of the pool should have enough curvature and not be too flat, otherwise the water will accumulate in it.
Basin installation and construction essentials
1. Wash basin products should be flat and free from cracks. The drain plug should have an overflow hole with a diameter of not less than 8mm.
2. When connecting the drain cock and the washing basin, the overflow hole of the drain cock should be aligned with the overflow hole of the washing basin as far as possible to ensure the unimpeded flow of the overflow part. After inlaying, the upper surface of the drain cock should be lower than the bottom of the washing basin.
3. The fixing bolts of the bracket can be galvanized open bolts or galvanized metal expansion bolts not less than 6mm. If the wall is porous bricks, it is strictly forbidden to use expansion bolts.
4. After the washing basin is connected to the drain pipe, it should be firm and dense, and easy to disassemble, and the connection should not be exposed. Silicone paste caulking should be applied to the contact between the sink and the wall.
5. If the drainage trap of the washing basin and the faucet are plated products, the coating must not be damaged during installation.
Bathroom vanity installation:
1. Install the washbasin: To install the pipe rack washbasin, draw a vertical line according to the middle of the drain pipe mouth, measure the specified height from the ground upwards, draw a horizontal line on the wall, and draw a mark on the wall according to the width of the washbasin , to make a hole with a diameter of 120mm deep. Rinse the brick slag and other sundries in the hole with water, insert the expansion bolt into the hole, twist it firmly with cement, hang the pipe frame of the fine basin, cover the bolt with rubber pads, eye rings, put nuts on it, and screw it to the end of the pipe frame with moderate tightness The head exceeds the washbasin fixing hole. Put the washbasin on the rack for leveling, weld a bolt with a diameter of 4 mm to a horizontal iron bar, insert the upper end into the fixing hole, and insert the lower end into the pipe frame, put on the nut, and screw it until it is moderately tight.
2. To install the washbasin with cast iron frame, draw a vertical line according to the center of the drain pipe, measure the specified height from the ground upwards, draw a horizontal line to form a cross line, draw a mark on the horizontal line according to the width of the washbasin, and then Draw a vertical line for each, place the pot frame, and draw the screw hole position in the hole with a diameter of 15 mm and a length of 70 mm. Roll the lead skin into a roll and cut it into the hole, fix the basin frame on the wall with screws, put the washbasin on the shelf, open the bolts of the movable shelf, pull out the movable shelf, and hook the shelf to the hole of the washbasin Inside, then tighten the screws of the movable frame to level and align.
Tips:
It is not easy to install the washbasin in the bathroom to be both beautiful and strong. I have to remind you of some small details.
Tips 1. In addition to leaving an ordinary socket near the washbasin, leave a small water heater in the cabinet under the washbasin for future installation.
Tip 2. It is better to open the hole of the undercounter basin in the factory than on the spot. The on-site polishing takes time and the effect is very poor. It should be noted that the location of the pre-drilled holes must be accurate. Installing the undermount basin is not an easy job, so you must find a skilled worker.
Tip 3. The undercounter basin is more delicate than the overcounter basin, looks good and is easy to clean. Pay attention to the faucet of the under-counter basin. Considering the thickness of the basin edge, the faucet should be longer.
Tip 4. The height of the bathroom basin should be moderate.
Tip 5. The washbasin should be selected first, and the location of the drainage and water pipes should be arranged. Otherwise, a lot of pipes will be connected at that time, which will be ugly. Moreover, it is necessary to find a knowledgeable person to accompany the sanitary ware. Some of them look very good. Things may not be able to install.